So, you've decided to get a new shed. Smart move! It's one of the best ways to finally clear out that garage clutter or carve out a dedicated spot for your hobbies. But before that shiny new structure lands in your yard, there's a fair bit to consider about how it actually gets there and goes up. I've been building sheds around San Jose for years, so trust me, I've seen it all. Let me walk you through what you really need to know.
Before Delivery: Get Your Ducks in a Row
This is where you, the homeowner, do most of the heavy lifting — sometimes literally. Seriously, don't skimp on this part; it makes everything else so much smoother.
- Clear the Path: Your shed's coming on a truck, probably with a trailer attached. That means you need a clear, wide path from the street right to where the shed will sit. Think about low-hanging branches, narrow gates, fences, or anything else that might block a big vehicle or even just the shed panels themselves. If we can't get the pieces to the site, well, we can't build it, can we?
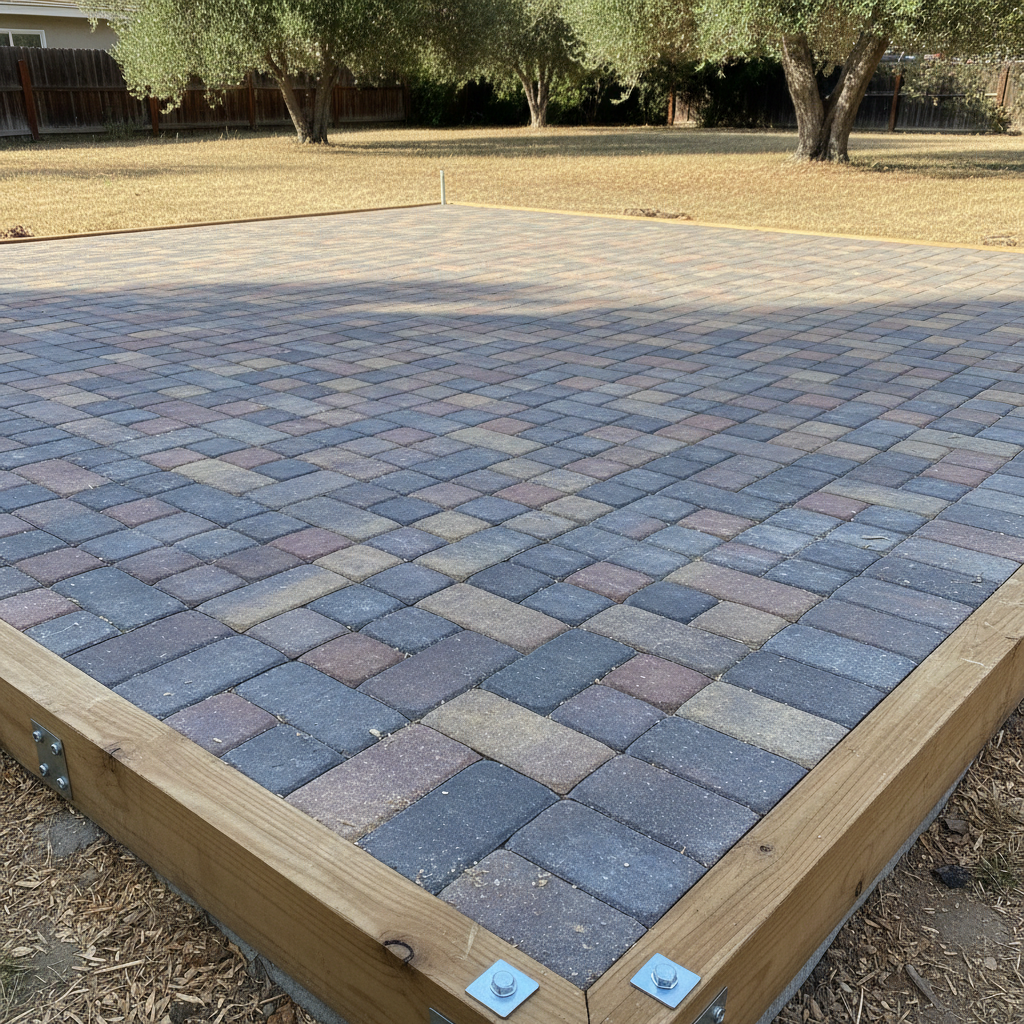
- Level the Ground: This is a big one. A shed needs a solid, level foundation. You can't just drop it on uneven dirt. For smaller sheds, you might be able to do some simple grading yourself with a shovel and a level, maybe using gravel or pavers. But for anything larger, or if your yard has a real slope, you're probably looking at a concrete slab or a more substantial gravel pad. If you're not confident in your leveling skills, this is absolutely a job for a pro. An unlevel shed will sag, the doors won't close right, and it'll just be a headache down the road.
- Check for Utilities: You need to know where your sprinkler lines, gas lines, electrical conduits, and septic systems are buried. Nobody wants to dig or set posts right into one of those. Call 811 before you dig; it's free, and it'll save you a world of trouble. This is especially important in older San Jose neighborhoods like Willow Glen or Cambrian Park, where utility maps might not be as precise as you'd hope.
- Permits: Depending on the size and height of your shed, you might need a permit from the City of San Jose. Don't skip this step. Dealing with fines or having to tear down a structure because you didn't get the right approvals is a real pain. Most sheds under 120 square feet usually don't need a permit, but always, always double-check with the planning department.
During Delivery & Installation: What to Expect
Once the truck pulls up, things usually move pretty quickly, especially if you've done your prep work right.
- Access: The delivery team will need clear access to the site. Make sure pets are secured and kids are safely inside. It's a construction zone, even if it's just for a shed.
- Site Confirmation: We'll confirm the exact placement with you. Be there to point out precisely where you want it. Once those walls start going up, moving it becomes a whole different story.
- The Build: If you've hired Custom Sheds of San Jose, our crew will handle the assembly. We bring all the tools and expertise. Your main job here is really just to stay out of the way and let us work. We're usually pretty efficient; most standard sheds can be built in a day or two.
- Homeowner Involvement: You might feel tempted to jump in and help, but honestly, it's better if you just let the pros do their thing. We've got our system down. If you really want to help, focus on keeping the area clear or maybe offering a cold drink on a hot San Jose afternoon.
After Installation: Finishing Touches & Maintenance
The shed's up, it looks great, and you're ready to fill it. But there are still a few things to keep in mind.
- Final Inspection: Take a walk around the shed with the installer. Check the doors, windows, and the overall structure. Make sure everything looks good and works properly before they head out.
- Sealing and Painting: Most sheds come pre-primed, but they'll definitely need a good coat of paint or stain to protect them from our California sun and those occasional winter rains. This is something you can absolutely do yourself to save a few bucks. Just pick a color that complements your home.
- Landscaping: Think about drainage around the shed. You really don't want water pooling at the base. A little gravel or a French drain can go a long way in protecting your investment. Also, keep vegetation trimmed back from the shed walls to prevent moisture issues and keep pests from moving in.
- Maintenance: Sheds aren't entirely maintenance-free, you know. Check the roof for debris, inspect the siding for any damage, and keep an eye on the foundation. A little preventative maintenance goes a long way in making your shed last.
Getting a new shed is exciting, and with a little planning, the delivery and installation process can be smooth sailing. Don't hesitate to ask questions if you're unsure about any step. That's what we're here for at Custom Sheds of San Jose.